163


Ever wished you could just ask your database questions like you do with ChatGPT?
With the latest version of SQLcl, that dream is one step closer to reality—thanks to the new MCP Server integration.
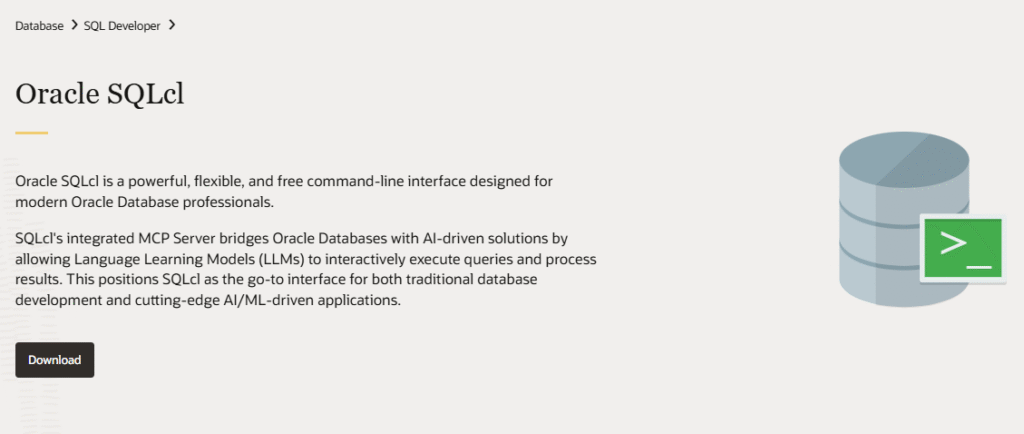
MCP stands for Model Context Protocol, and it’s a lightweight server built right into SQLcl (from version 25.2 onward). It acts as a bridge between your Autonomous Database and any AI assistant or IDE that supports natural language interfaces. In simple terms: it lets you talk to your database using plain English, and get fully formed SQL queries (and results) in return.
No need to build anything from scratch. Just launch SQLcl with the right flag, and your database is instantly ready for chat-based exploration.
Now, pair this with Oracle Autonomous Database, and things get even more interesting. You get a database that scales automatically, tunes itself, and keeps itself secure—so you can focus on what really matters: understanding your data.
In this post, I’ll show you how to:
Launch the MCP server with SQLcl
Connect it to your Autonomous Database
Start asking questions in natural language
Let’s make your database feel more like a teammate—and less like a black box.
Before starting, you can refer to the SQLcl and MCP Server documentation: here
Please read the Caution message and fully understand how it works before you connect it to production environments!
When you grant a large language model (LLM) access to your database, it introduces significant security risks. Because LLMs use the data you input to generate responses, you might inadvertently expose unintended tables or sensitive details.
V$SESSION.MODULE with the MCP client in use, and V$SESSION.ACTION with the LLM’s name.DBTOOLS$MCP_LOG that records every interaction and SQL execution./* LLM in use ... */.
Now we can start! We have two requirements for our Desktop:
I already have Java installed in my laptop, so let’s proceed to install SQLcl. You can go to the official url here and download it.
In my case I have created a folder in the Desktop for simplicity and I had unzipped it there. That’s all! We have it ready to use!
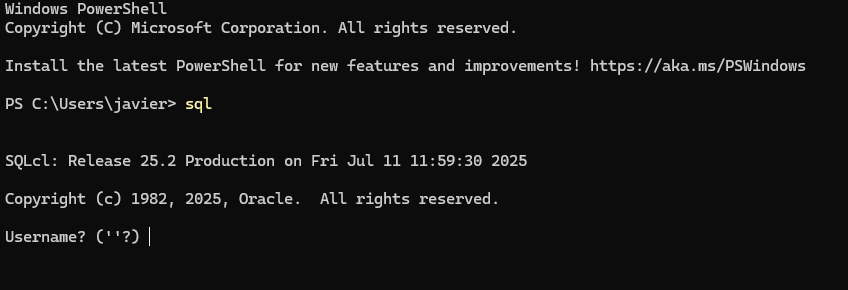
What I have done also for simplicity is to add the SQL.exe from the SQLcl bin folder into Windows PATH. In this way I can call SQLcl directly with SQL command. This is not required.
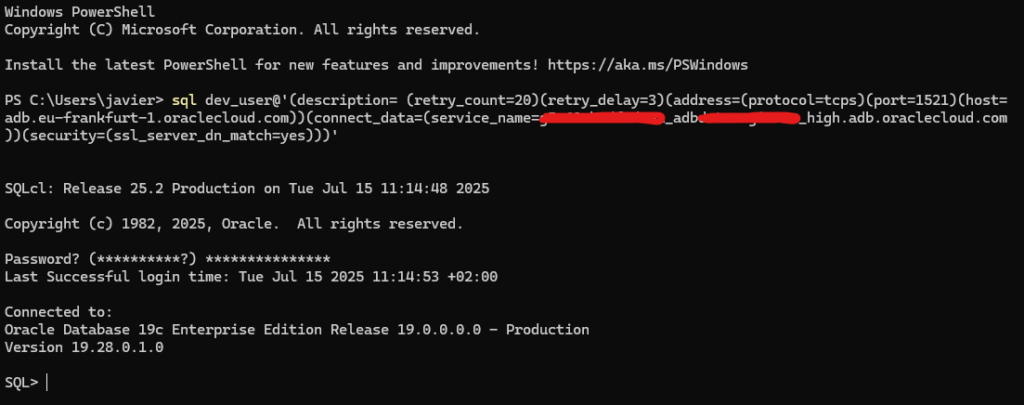
In the following screenshot you can see I have it working! Now let’s connect!
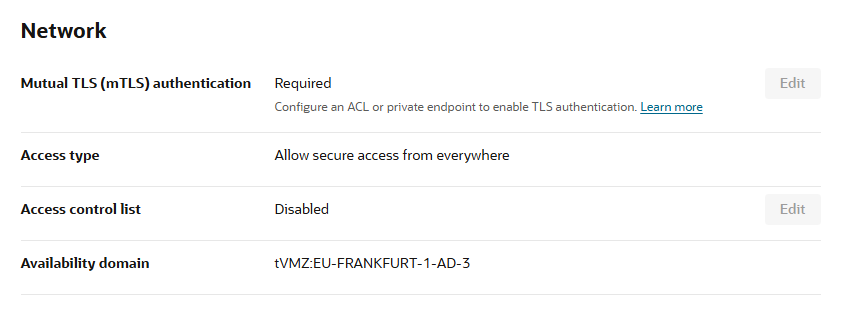
When you connect to an Autonomous Database, you can connect with Wallet (Mutual TLS) and Without Wallet. In this chapter I will explain how to connect without Wallet. Let’s check how is the Autonomous configured.
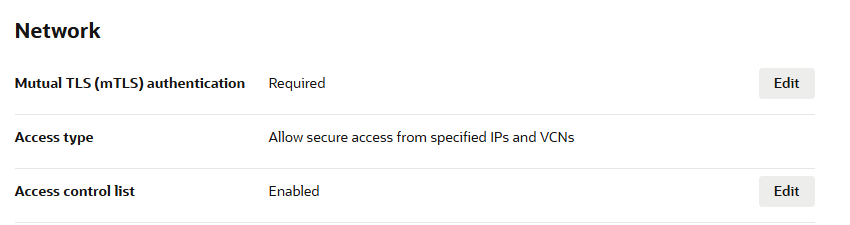
If I go to the Network information, we can see that Mutual TLS is required. Let’s remove this restriction (this is not recommended for Autonomous exposed to Internet).
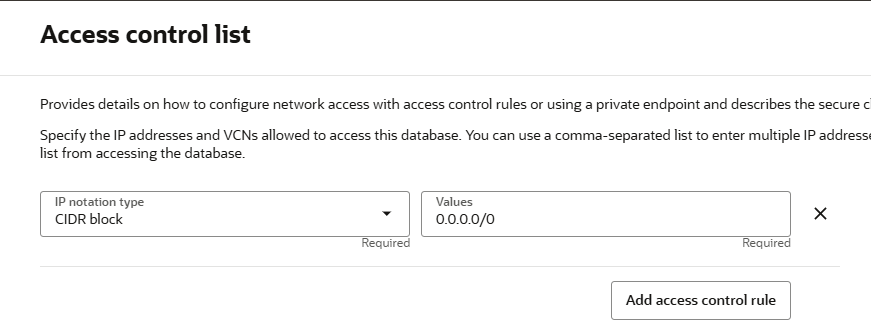
The first step is to have an ACL. In this case we have to click EDIT in the ACL and add a rule. In this following example I have added a CIDR block, allowing anybody to connect. There is the possibility to add your own IP too. As this is a test, I have enabled to anybody to access (not recommended).
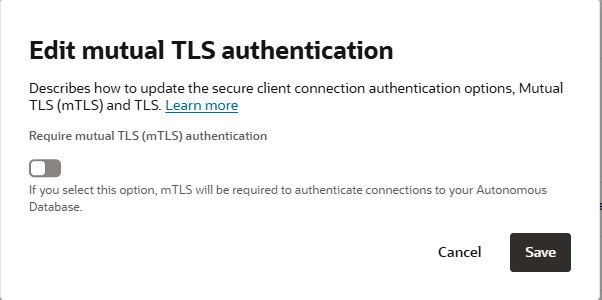
Once the ACL is enabled and a rule added, it is possible to edit the Mutual TLS and disable it. Let’s click on Edit.
Now we can disable it.
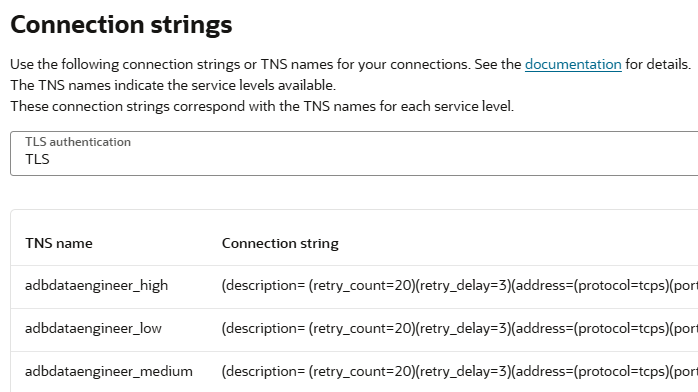
Now we heed to get the connection string of the Autonomous Database. This is provided at the “Database Connection” button. Let’s click there.
At the connection strings, we can see TLS and Mutual TLS. This is just a read-only menu for information. Select the TLS and copy the full connection string. You can take any of them.
As we created the Autonomous Database with the DEV_USER user and a password, let’s try the SQLcl connectivity to be sure we can reach the Autonomous Database from our laptop.
You can see I’m using the full connection string.
The SQLcl MCP Server relies on the preconfigured connections saved in the connection store. For a connection to be accessible to an MCP client, you must save its password. When you create a new connection, use the -savepwd flag
Create a MCP server connection which has the following structure:
SQL> conn -save cline_mcp -savepwd User123/pass123@//localhost:1234/Database1
Name: cline_mcp
Connect String: //localhost:1234/Database1
User: User123
Password: ******
Connected.
SQL>
This is the one I have used with the Oracle Autonomous Database connection string.
The SQLcl MCP Server is designed to be launched and managed automatically through an MCP client application.
You can verify the status with the following command:
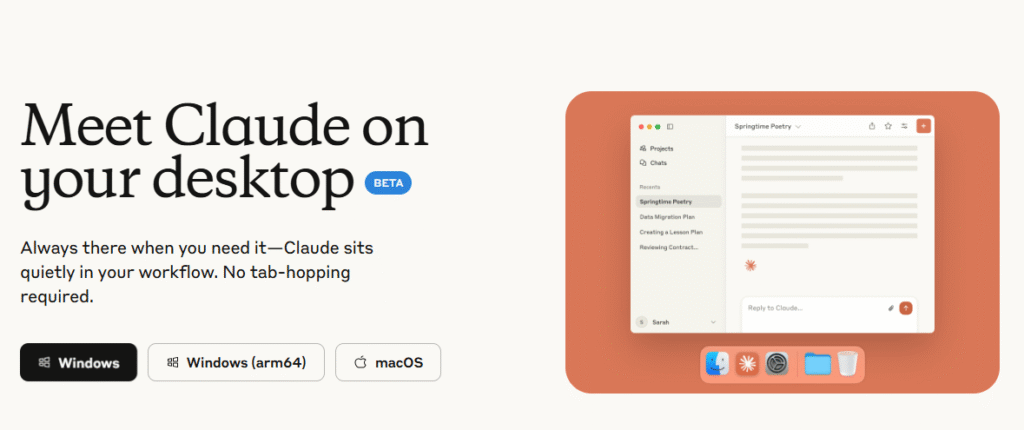
Now is time to install Claude Desktop. You can download it from here
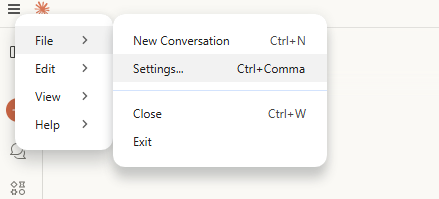
Now it is time to configure it with our SQLcl MCP server. Open Claude Desktop, and go to File => Settings.
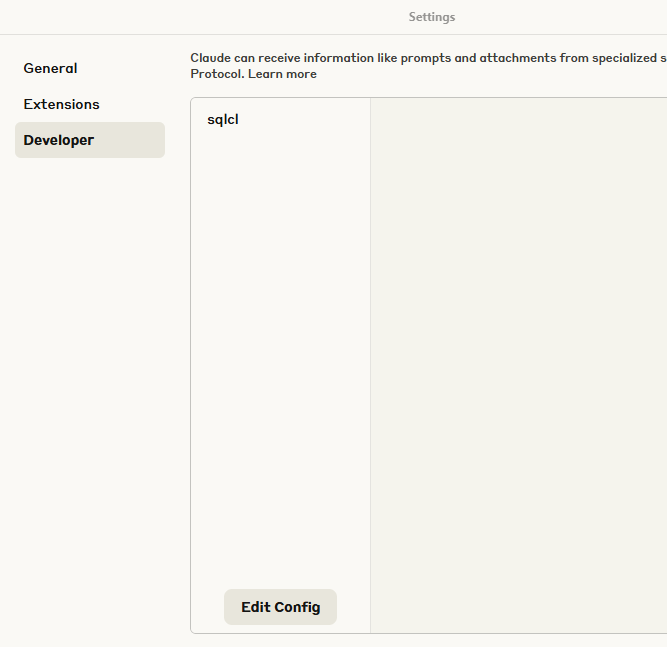
Here we have to point to our SQLcl MCP Server. You can see here sqlcl because I already have it configured. You need to go to Edit Config.
This will point to a configuration JSON file. This is the structure you need to have. Remember that as I have SQL in the Windows PATH, SQL is more than enough. If not you have to provide the full path to SQL.exe
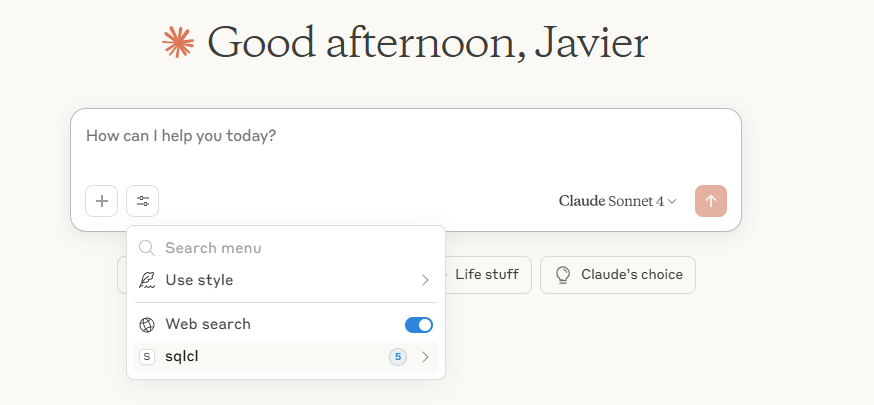
Now you can restart Claude Desktop and you will see the sqlcl commands available. If you are not able to see it, click on File => Exit and then start it again.
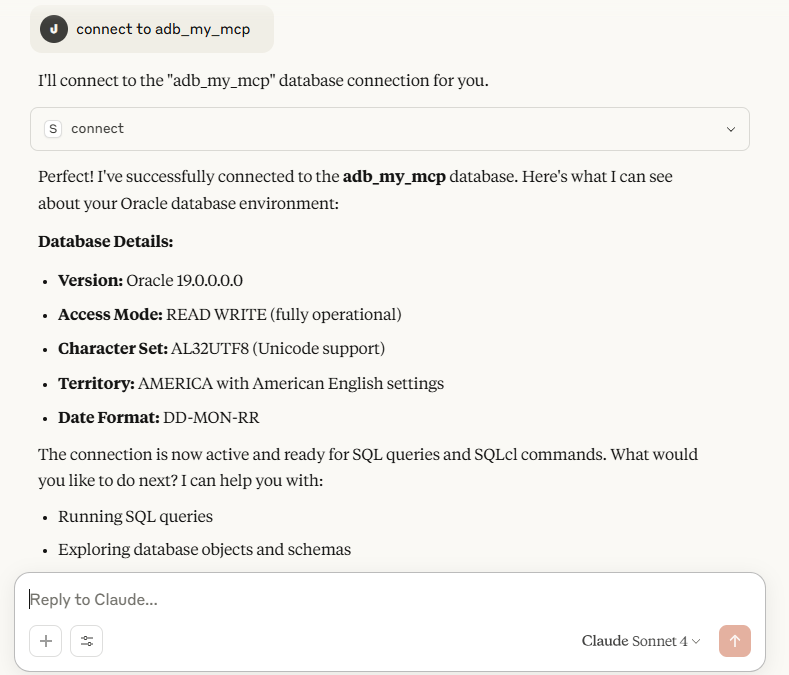
Once started and the sqlcl available, we can start connecting and asking questions. For example I’m going to connect using the configuration saved.
Now we can use natural language with our Oracle Autonomous Database!
I’m thinking in some articles about how to do Data Engineering using this integration. Do you want to explore? Let me know in the comments!